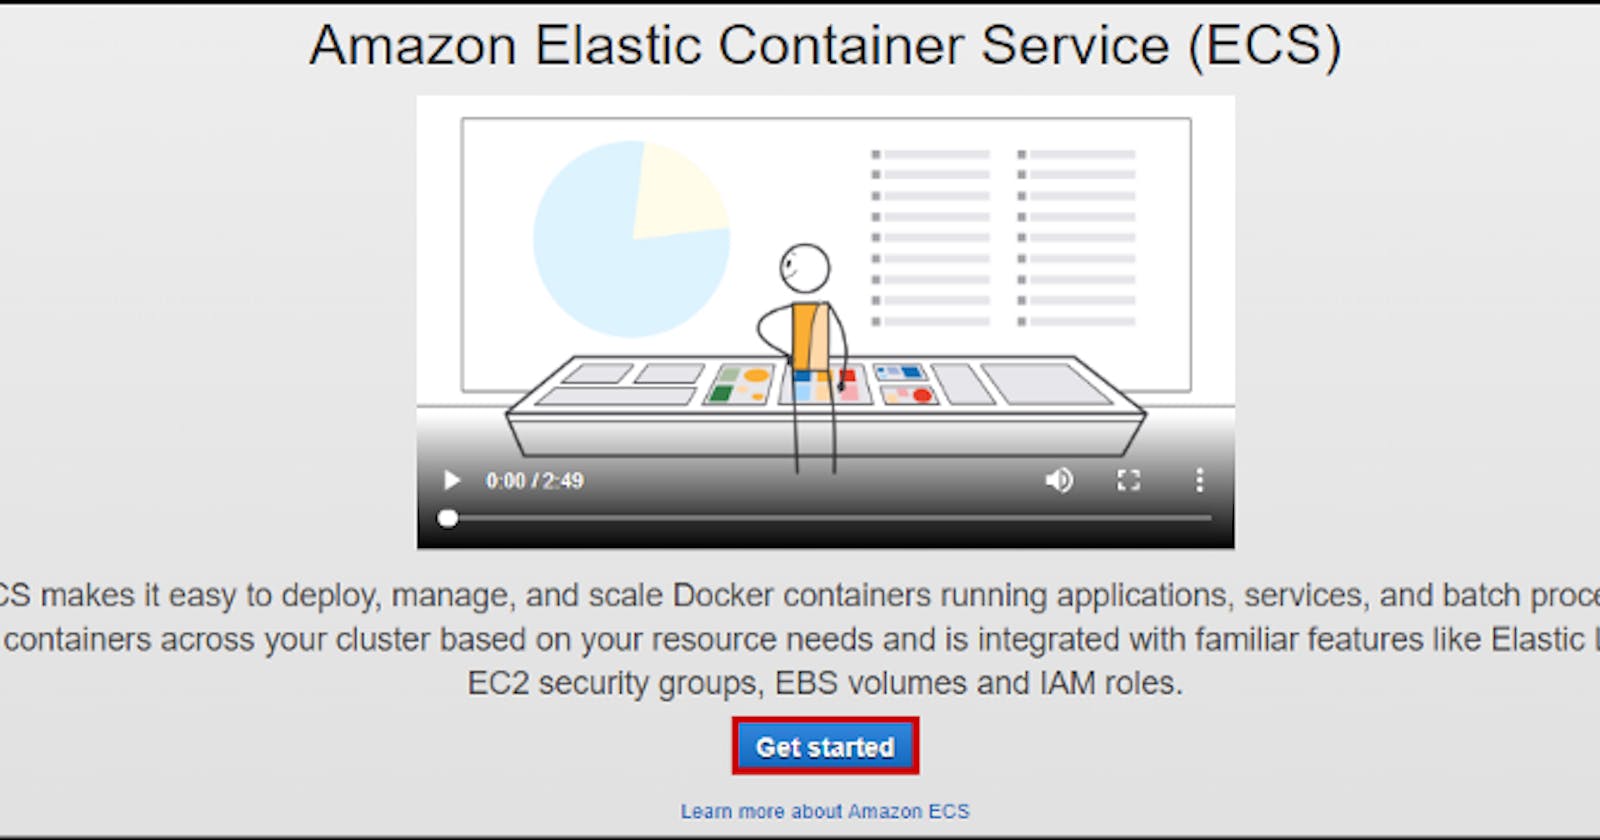
Demo: Run A Docker Image In A production Environment Using Amazon ECS Go to Amazon’s login page and sign in if you already have an account. If you don’t, then go ahead and create a free account. Type in “ECS” and click on that service. You’ll see a Get started button if you haven’t created a cluster before. Go ahead by clicking on Get Started.
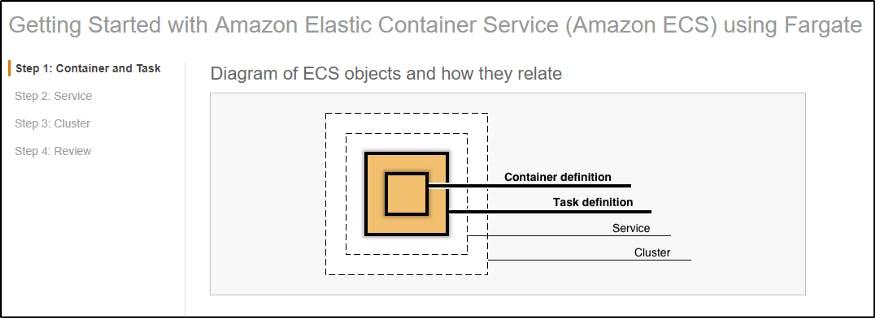
 Running a docker image on AWS ECS has 4 main steps, Container definition, Task definition, Service, Cluster.
Configure Container Definition: Select an image for your container. You have 4 options — A sample application image, Nginx image, tomcat-webserver, and a custom image.
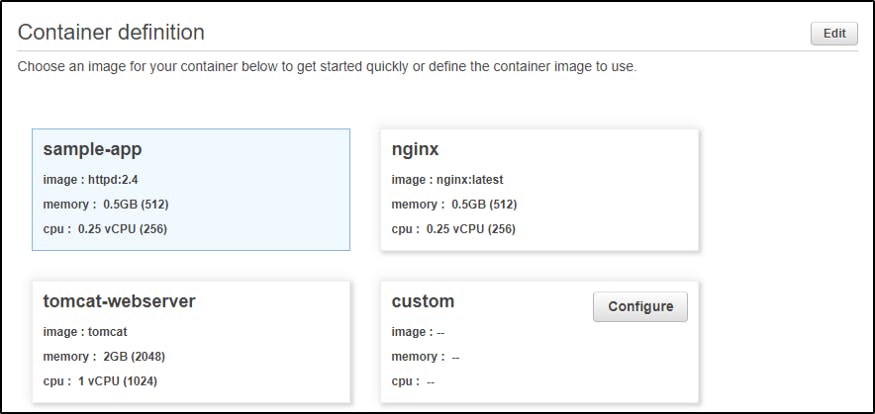
For this demo, I’ve chosen the sample-app.
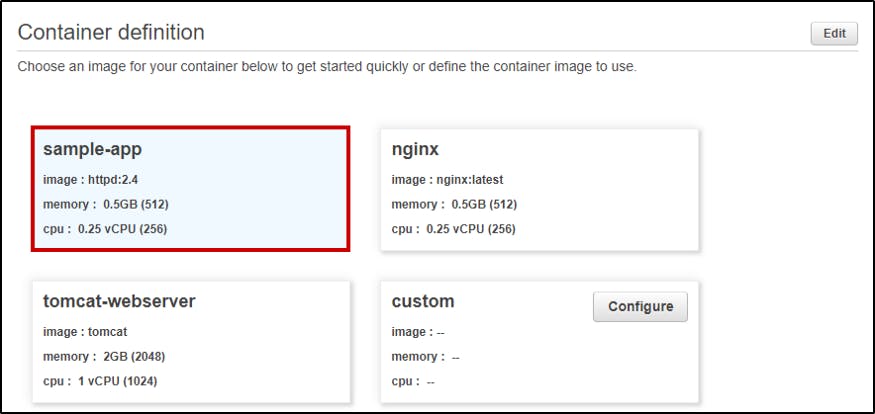 Click on edit on the top right corner if you wish to change the configuration.
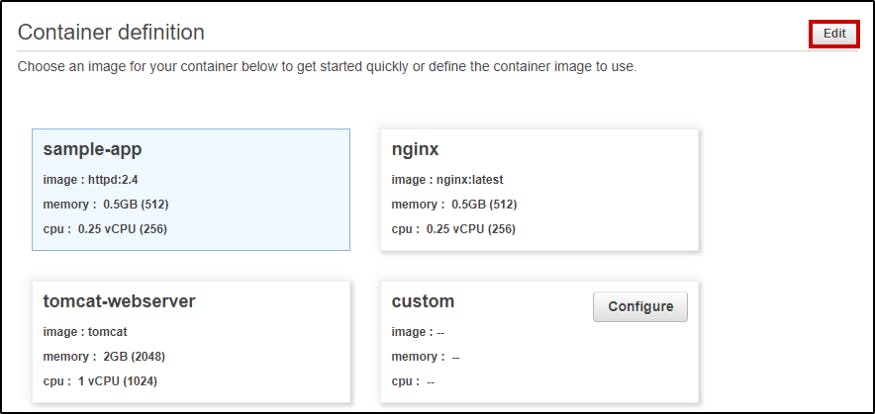 You can edit the container name, the image to use, Memory limits, Port mappings, Healthcheck configurations, Environment configurations, Container timeout configurations, Network settings, Storage and Logging configurations, Resource limits, and Docker Labels. For this demo, I’ve used all the default configurations.
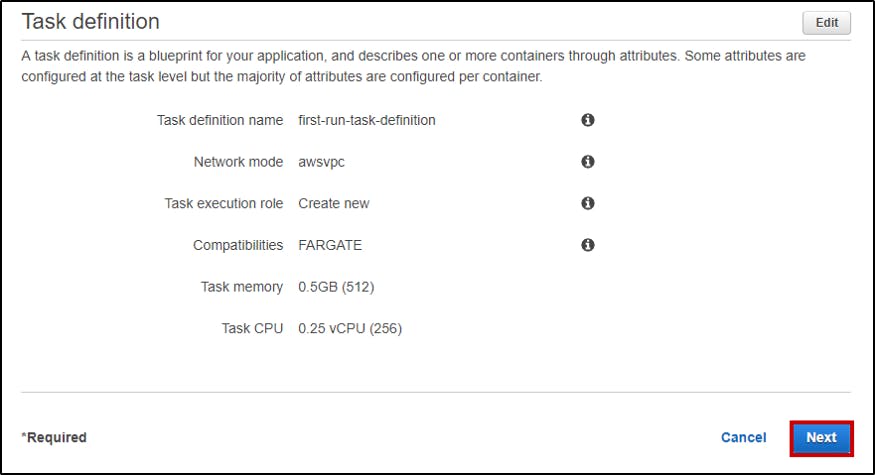
Configure Task Definition: It consists of Task definition name, Network mode, Task execution role, capabilities, task memory, and Task CPU.
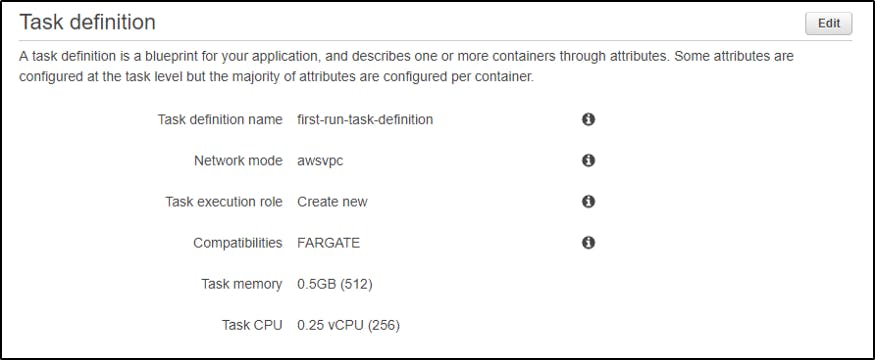 You can click on Edit on the top right corner and configure according to your needs. For this demo, I’m using all the default configurations. Once you’re done, click on Next on the bottom right corner.
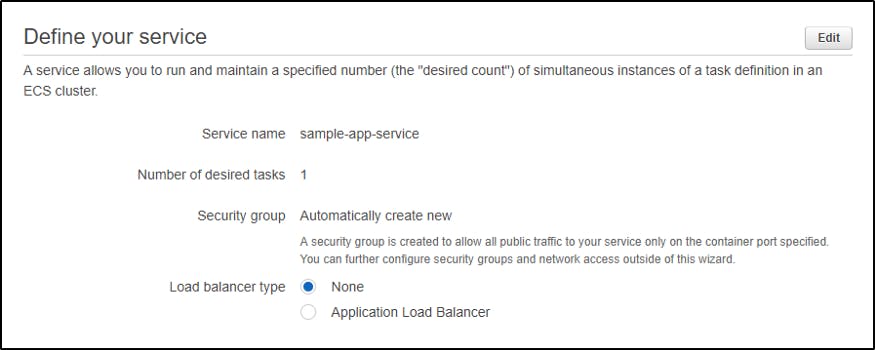
 Configure Service: You can go ahead and change the Service name, Number of desired tasks, Security Group and Select the Load balancer type. For this demo, I haven’t used a load balancer. Click on Next.
 Configure Cluster: Configure your cluster by adding a Cluster name and click on Next.
Review: Once you’ve configured everything, you should see something like this.
Review everything and click on Create on the bottom right corner.
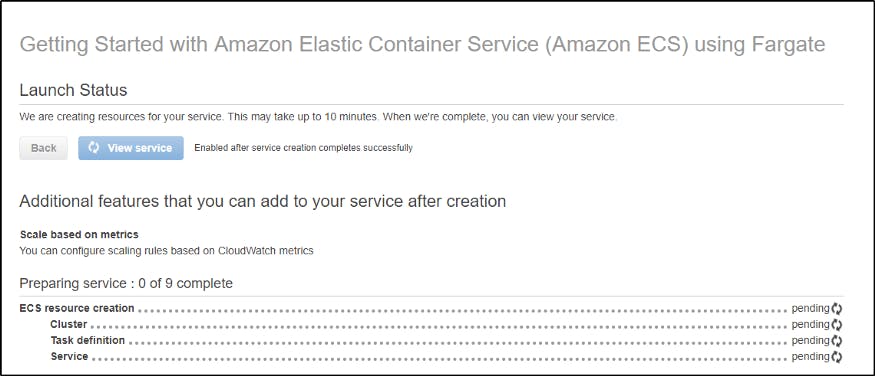
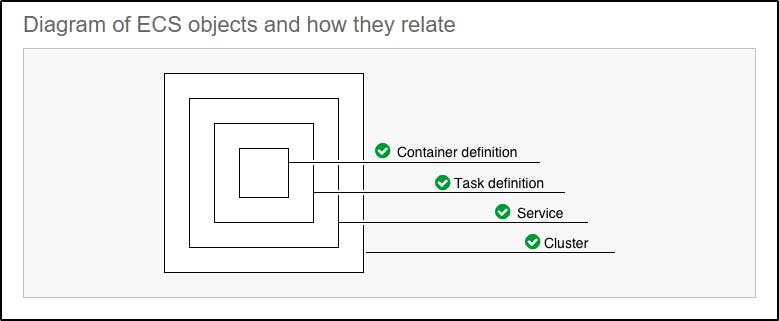 All the services will now get created. This might take about 10 mins.
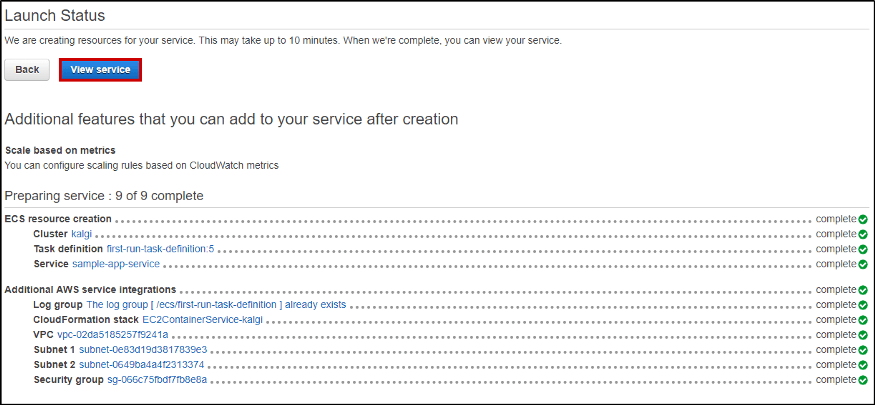
 Once everything has the completed status, click on View Services
You’ll see something like this. It’s going to show you your cluster details, task definition and an option to delete and update it.
 You can check further details like the VPC, Subnets, Tasks, Events, Autoscaling, Deployments, Metrics, Tags and Logs.
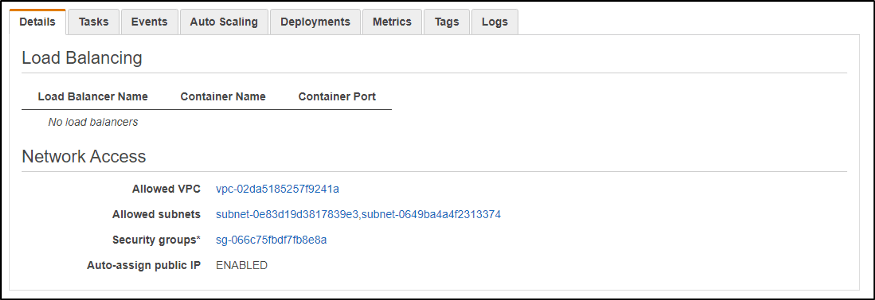
Now go ahead and click on task to check out the deployed container.
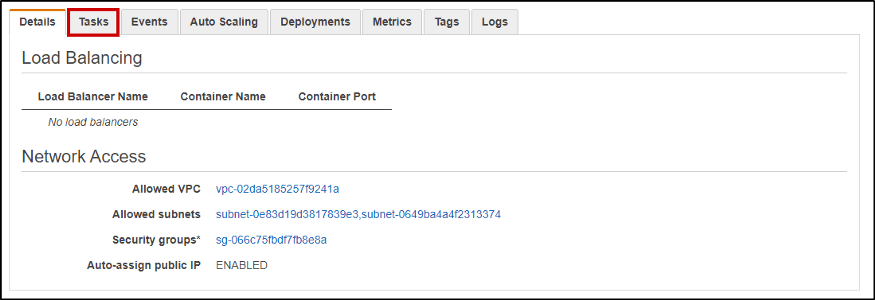 Click on the task name as shown below.
 Click on ENI Id under the Network section.
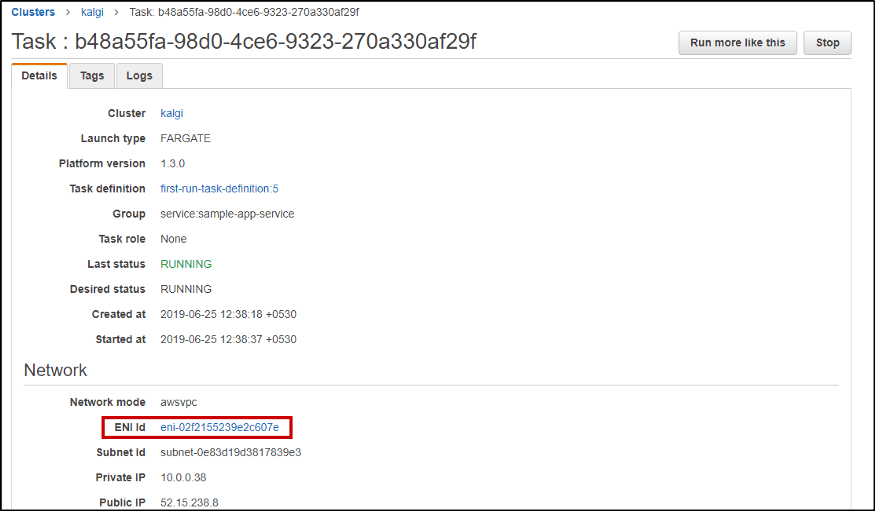
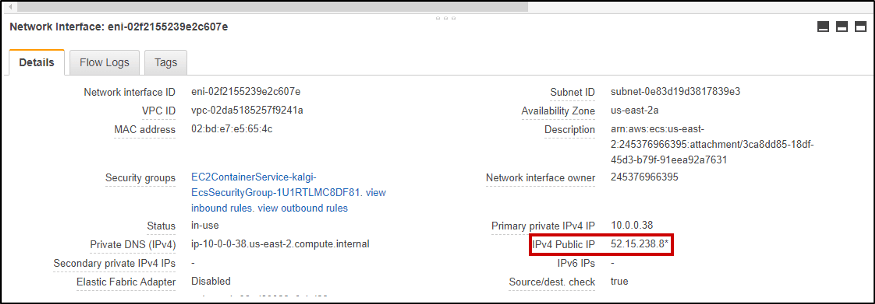
You’ll be taken to the Network Interface page which would look like this:
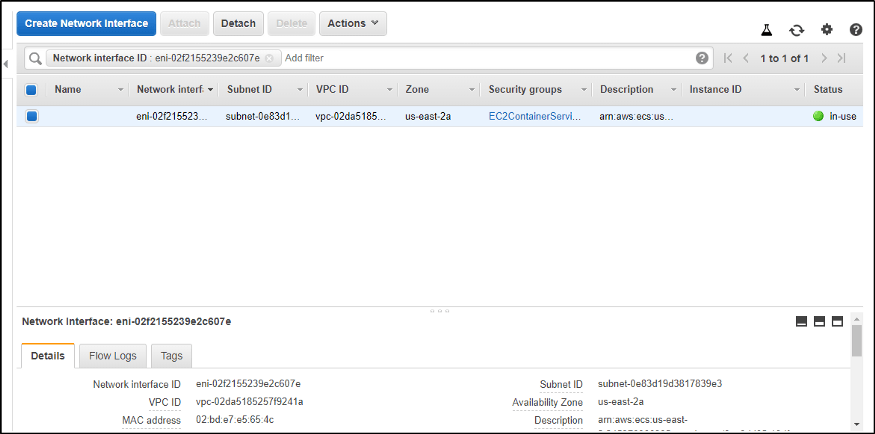
Scroll down and you’ll see your IPV4 Public IP. Copy it.
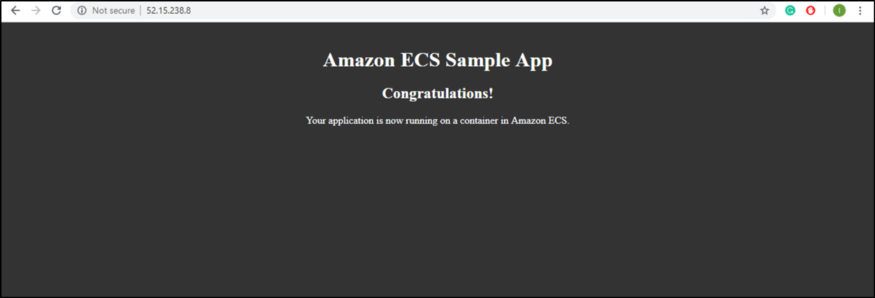
Paste it on any browser like a URL. You’ll see the docker container output there. You’ll see your sample-app.
This was just a sample-app. You can run any kind of application or any kind of Docker image in just a few steps. This brings us to the end of this Amazon ECS article. You can integrate this service with various DevOps tools and can make the building process easier. I hope this blog was helpful.

